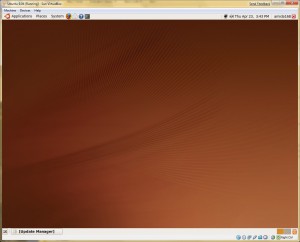
 Ubuntu 9.04 is released today. If you want to try it without buying a new machine or partitioning your hard drive, VirtualBox is a good choice. This guide assumes you have downloaded the Ubuntu 9.04 iso and you also have installed VirtualBox 2.2 or above. You also need enough disk space to hold the virtual disk on your hard drive.
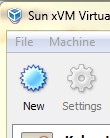
- Run VirtualBox and Click on New to create a new virtual machine.
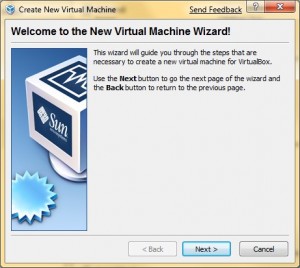
- Click on Next to continue.
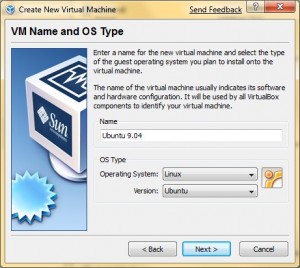
- Name your virtual machine and select the proper OS Type. Click on Next to continue.
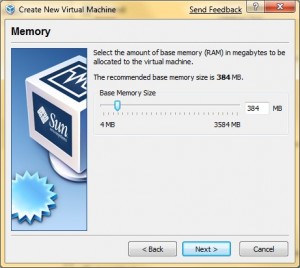
- The default RAM is 384 MB which is enough for Ubuntu. Click on Next to continue.
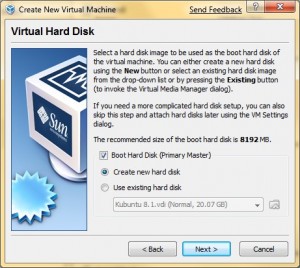
- Click on Next to create a new virtual disk.
- Create New Virtual Disk Wizard starts, click on Next to continue.
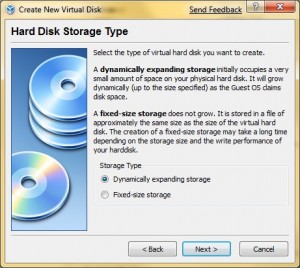
- Select Dynamically expanding storage and click on Next to continue.
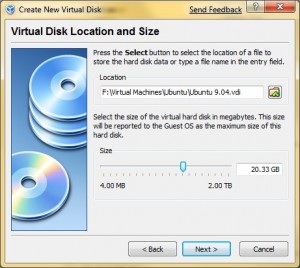
- Specify a location for the disk image and size. If your system drive is low on space, you might want to use a different drive. Click on Next to continue.
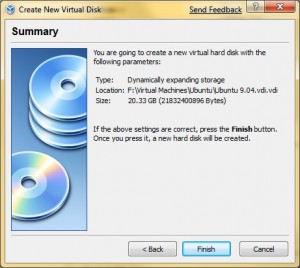
- Click on Finish to finish creating a new virtual disk.
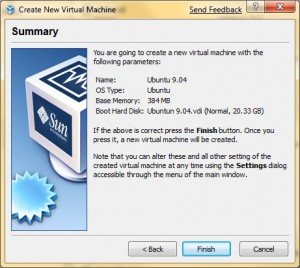
- Click on Finish to finish creating of the new virtual machine.
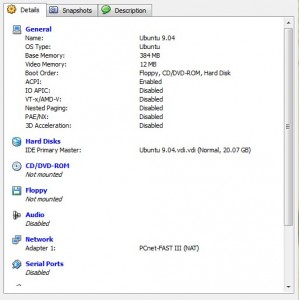
- Now back to the main windows of VirtualBox with the newly created virtual machine for Ubuntu. Double click on CD/DVD-ROM. Note that a lot of features are turned off by default. If you want to change the settings, click on Settings to modify them.
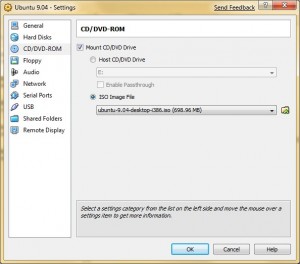
- Check Mount CD/DVD Drive and select ISO Image File. Click on the folder icon.
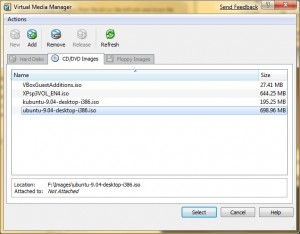
- Click on the Add icon to locate the iso image you downloaded. Click on Select and you will be brought back to the dialog in previous step. Click on OK.
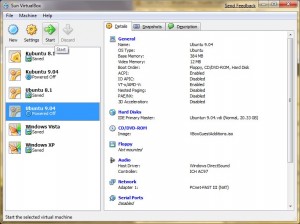
- Click on Start icon in the upper left corner to start installation.
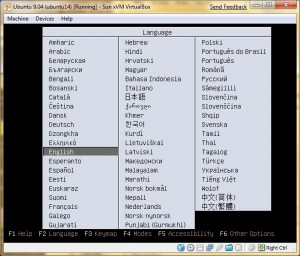
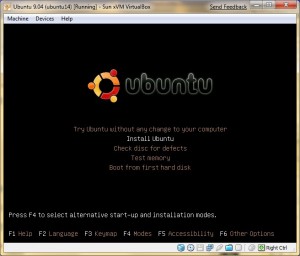
- Click anywhere inside the virtual machine window, so that you can use your keyboard and mouse inside the virtual machine. If you ever want to release the mouse and keyboard from the virtual machine, press right Ctrl key. Select the language and press Enter key.
- Select Install Ubuntu using the arrow keys and press Enter key.
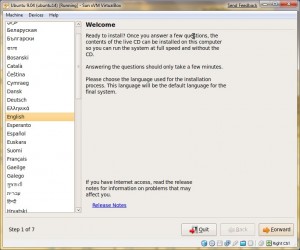
- Select the language and click on Forward.
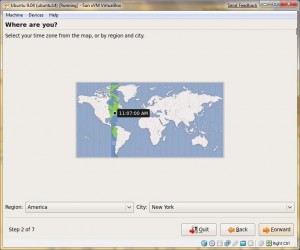
- Select your time zone and click on Forward.
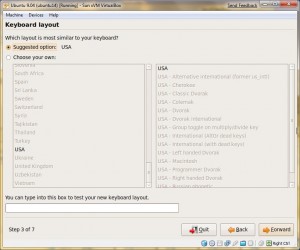
- Select keyboard layout and click on Forward.
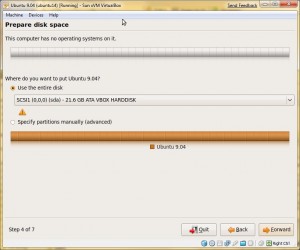
- Select Use the entire disk and click on Forward.
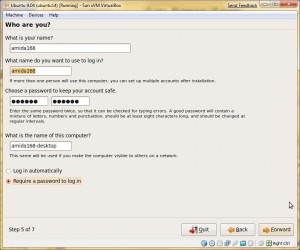
- Create a user and click on Forward.
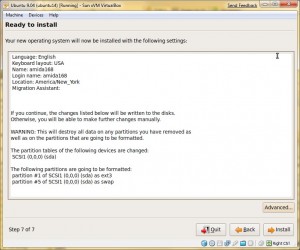
- Click on Install.
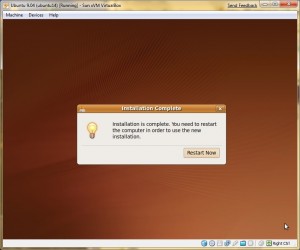
- Wait for a few minutes. When it’s done, click on Restart Now.
- When the virtual machine reboots, it boots to the installation media again. Select Boot from first hard disk and press Enter key.
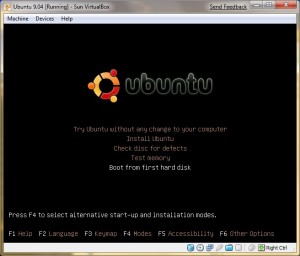
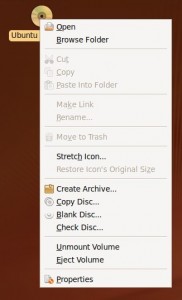
- The basic installation is done. To make it better, we want to install the Guest Additons. You will get a better display driver and you also do not need to press right Ctrl key to swtich between the virtual machine and your host machine. Log on to the system using the account you just created. You can see the Ubuntu installation disc is mounted. Right click on the media and select Unmount Volume.
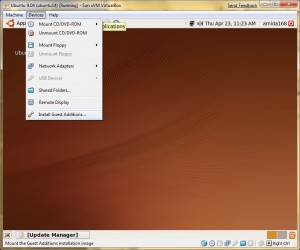
- Press right Ctrl key to release mouse and keyboard from the virtual machine. Click on Devices on the menu bar and select Unmount CD/DVD-ROM.
- Click on Devices again and select Mount CD/DVD-ROM -> CD/DVD-ROM Image … .
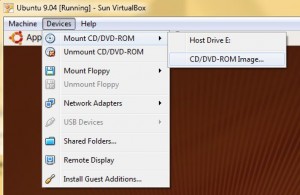
- Select VBoxGuestAdditions.iso and click on Select. If the disc does not show up on the desktop, you might want to do Unmount CD/DVD-ROM again.
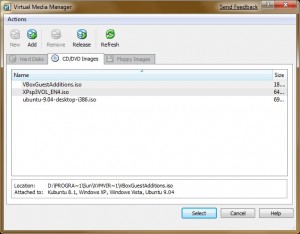
- Click on Applications -> Accessories -> Terminal to bring up a terminal window.

- Type the following command.
sudo /media/cdrom/VBoxLinuxAdditions-x86.run
Enter your password to continue.
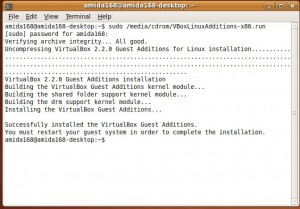
- Now reboot the virtual machine and enjoy!
This post may contain affiliated links. When you click on the link and purchase a product, we receive a small commision to keep us running. Thanks.

Hi dude,
good and helpful step by step installation manual
does anyone else have troubles with Ubuntu 9.04 final and VirtualBox Guestadditions2.2? mine seems to work ok, but after restarting the screen goes white and locks. (might be worth noting that after instlaling the guestadditions and when it asks to restart, after this the login prompts are changed resolution (as if the the guestadditions video driver is working) but then goes white) anyone?
I had some problems when I used the old version of VirtualBox 2.1. I didn’t have any problems after I switched to 2.2. You might need to reinstall the guestadditions.
terrific tutorial. What’s the different between virtual box vs. virtual pc and vmware?
good article, i think vmware player can also be used, just like the virtual box,