If you try to install Windows XP on a Windows 7 machine, you will find that you cannot boot your machine to Windows 7 anymore. Here is a step-by-step tutorial on how to repair your Windows 7 machine so that it can boot again.
- Download a Windows 7 Recovery CD image from this site and burn it to a CD. Remember to download the correct version (32bit or 64bit) according to the Windows 7 version on your machine.
- Put the CD in the optical drive of the machine and reboot it.
- Press a function key to bring up the boot menu. For most machines, this key is F12. Your machine could be different. Please consult your machine’s documentation.
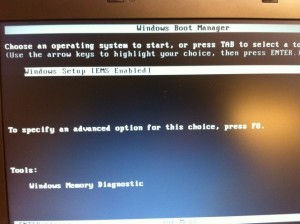
- Select CD/DVD Drive and press Enter to boot to the CD/DVD drive. Here is a screenshot of a Latitute E6510.

- Press any key to continue when you see this screen.

- Press Enter to continue.

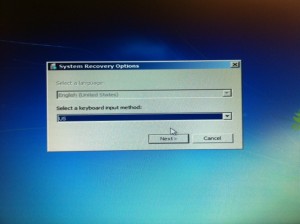
- Select a keyboard input method and click on Next.

- The recovery CD automatically detects a problem with your computer’s startup options and offers to fix it. Click on Repair and restart. If this fixes your startup problem, you can skip the following steps. If not, read on. Note that if the recovery CD does not detect any initial problems, you might not see this screen.

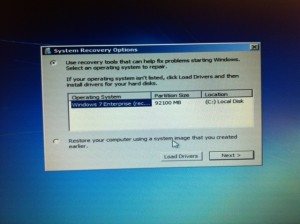
- If the previous step does not fix the machine, repeat steps 2 through 7 and you will see this screen.

- Make sure the first option is selected and click on Next.
- Click on Startup Repair to repair it.

- Click on Finish when the process is done.

- The machine will reboot again. If you still cannot boot to Windows 7, follow steps 2 through 12 again. You may have to do this multiple times.
This post may contain affiliated links. When you click on the link and purchase a product, we receive a small commision to keep us running. Thanks.

Leave a Reply